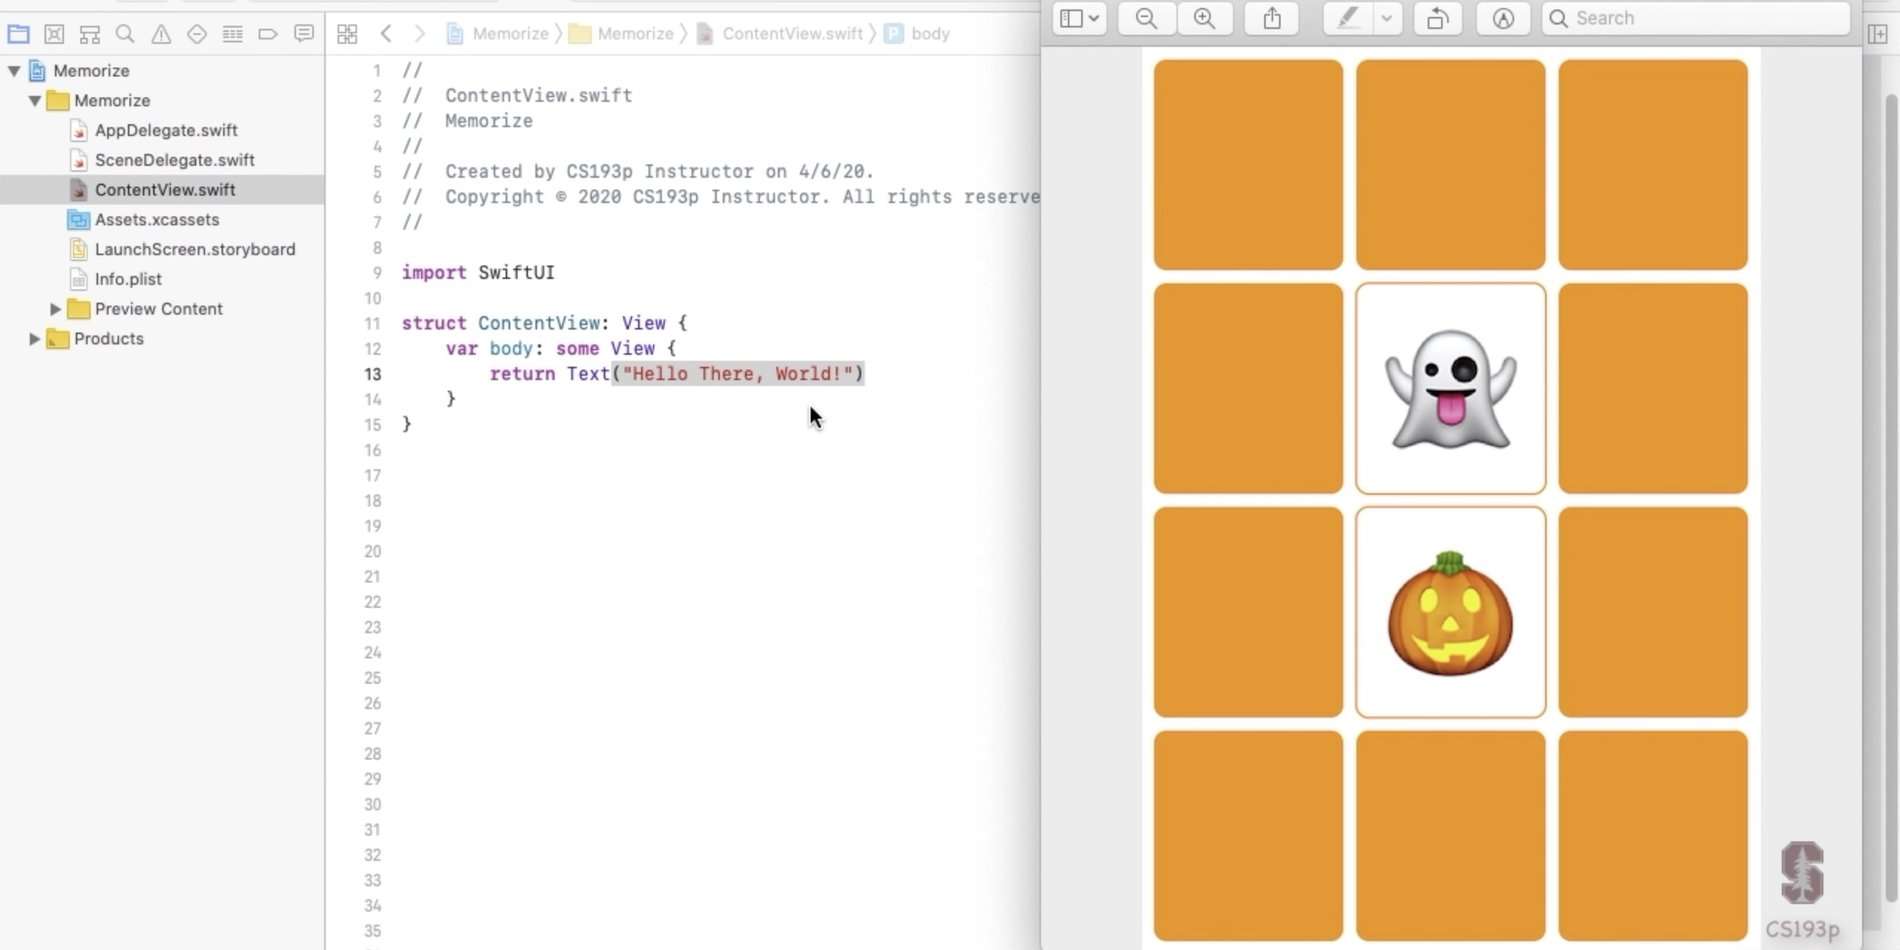
I’m starting to learn SwiftUI by following a course on Stanford’s Website called CS193p – Developing Apps for iOS. I took notes along the way and compiled them below.
Lecture 1
- A struct is essentially a container for some variables
- In struct ContentView: View{}, the end part : View is basically saying that this struct will behave like a View. And then ContentView is the name we give the struct.
- A var within a struct can also be referred to as a property.
- You must have a var of body within a View for it to function properly. An example is var body: some View {}.
- A var with {} means that whenever that var is called, the value inside of the curly brackets will be computed
- If whatever is being computed within the var is only 1 line, you can omit the keyword return.
All variables have to have an initial value
Types of Views:
- ZStack – arranges things from back to front
- HStack – arranges things horizontally. You can use the argument of spacing: 0 to get rid of the spacing in between elements
- ForEach
ForEach( 0..<4 content: { says iterate up to and not including 4 times
ForEach( 0…4 content: { says iterate 4 times
ForEach( 0… content: { says iterate as many times until you get to the end
ForEach( …2 content: { says iterate at the beginning up to and including the 3rd item. (Because 0 counts as an item)
Lecture 2
SwiftUI is a MVVM structure (Model-View-ViewModel)
In the ViewModel, the following is like an open door to the Model. So the View can see and edit the Model.
class EmojiMemoryGame {
    var model: MemoryGame<String>
}
The below is a closed door, so the View cannot see the Model at all
class EmojiMemoryGame {
    private var model: MemoryGame<String>
}
And the below is like a glass door, where the View can see the Model but not edit it.
class EmojiMemoryGame {
    private(set) var model: MemoryGame<String>
}- Use // MARK: – Headline goes here as a way to create a nice little header within a document so you can jump right to that section.
- In-lining a function in swift is called a closure because it actually captures the information from the surroundings that it needs to work.
- In swift we use _ anytime we need to use an argument but it doesn’t matter what the argument is and it’s not really used.
- A static func makes a certain function a function on the type, instead of being a function that you send to an instance of a class.
If you hold down the option key and hover over words you get a question mark icon. Click on the word you are hovering on and you’ll get a definition from the Swift documentation. SHIFT + CMD + O will also open the developer documentation
Lecture 3
vars are not allowed within view builders such as ZStack or HStack. You can however create a var outside of the view builder and then use it within the view builder. You just can’t define one within there.
To rename a variable, struct, class, or anything Command click on the variable name and Choose “Rename” – this is refactoring.
When you change the model, the UI should always update
When you make a class an ObservableObject, you are automatically creating var objectWillChange: ObservableObjectPublisher behind the scenes. And when you call the send() function on objectWillChange ( objectWillChange.send() )it’s going to basically publish to the world that something will change.
Add @Published in front of vars that you want to change and affect the model. That’ll call objectWillChange.send() every time the var is changed.
var hasMoved: Bool { get }You can use an extension to add code to a struct or class. Example below.
struct Boat {
   ...
}
extension Boat {
   func sailAroundTheWorld() { /* implementation */ }
}
Layouts
Here’s how the on-screen space is handled by the views:
- Container views “offer” space to the Views inside them
- Views then choose what size they want to be
- Container views then position the Views inside of them
HStack, VStack, & ZStack (stacks on top of each other) divide up the space offered to them equally.
These views offer space to the least flexible elements first. Images are the least flexible because it always wants to be the size of the image. Text as well always wants to be the length of the text. A RoundedRectangle is very flexible and will fill the allowed space. Spacer(minLength: CGFloat) is a valuable element that always fills the space that is available but is blank. Divider() is another useful element that draws a line and is only the size of the line. That said you can use .layoutPriority() to change the spacing of an element within a view. The default layout priority is 0. An example is below:
HStack {
   Text("Important").layoutPriority(100)
   Image(systemName: "arrow.up")
   Text("Unimportant")
}
ForEach defers to it’s parent container to lay out the views inside of it.
Modifiers ( such as padding() ) essentially contain the views they modify.
Generally when a view is offered space, that space does not include “safe areas” such as the notch on the iPhone X. It’s possible to ignore that defualt behavior with the below code:
ZStack{ ... }.edgesIgnoringSafeArea([.top])When creating classes and structs, try to take any values or numbers out of the basic functions and put them in at the end of the stuct or class as variables or simple one-line functions with the commented out headline of // Mark: – Drawing Constants. This will serve as your “Control Panel” where you can tweak all the values in one place.
@joekotlan on X