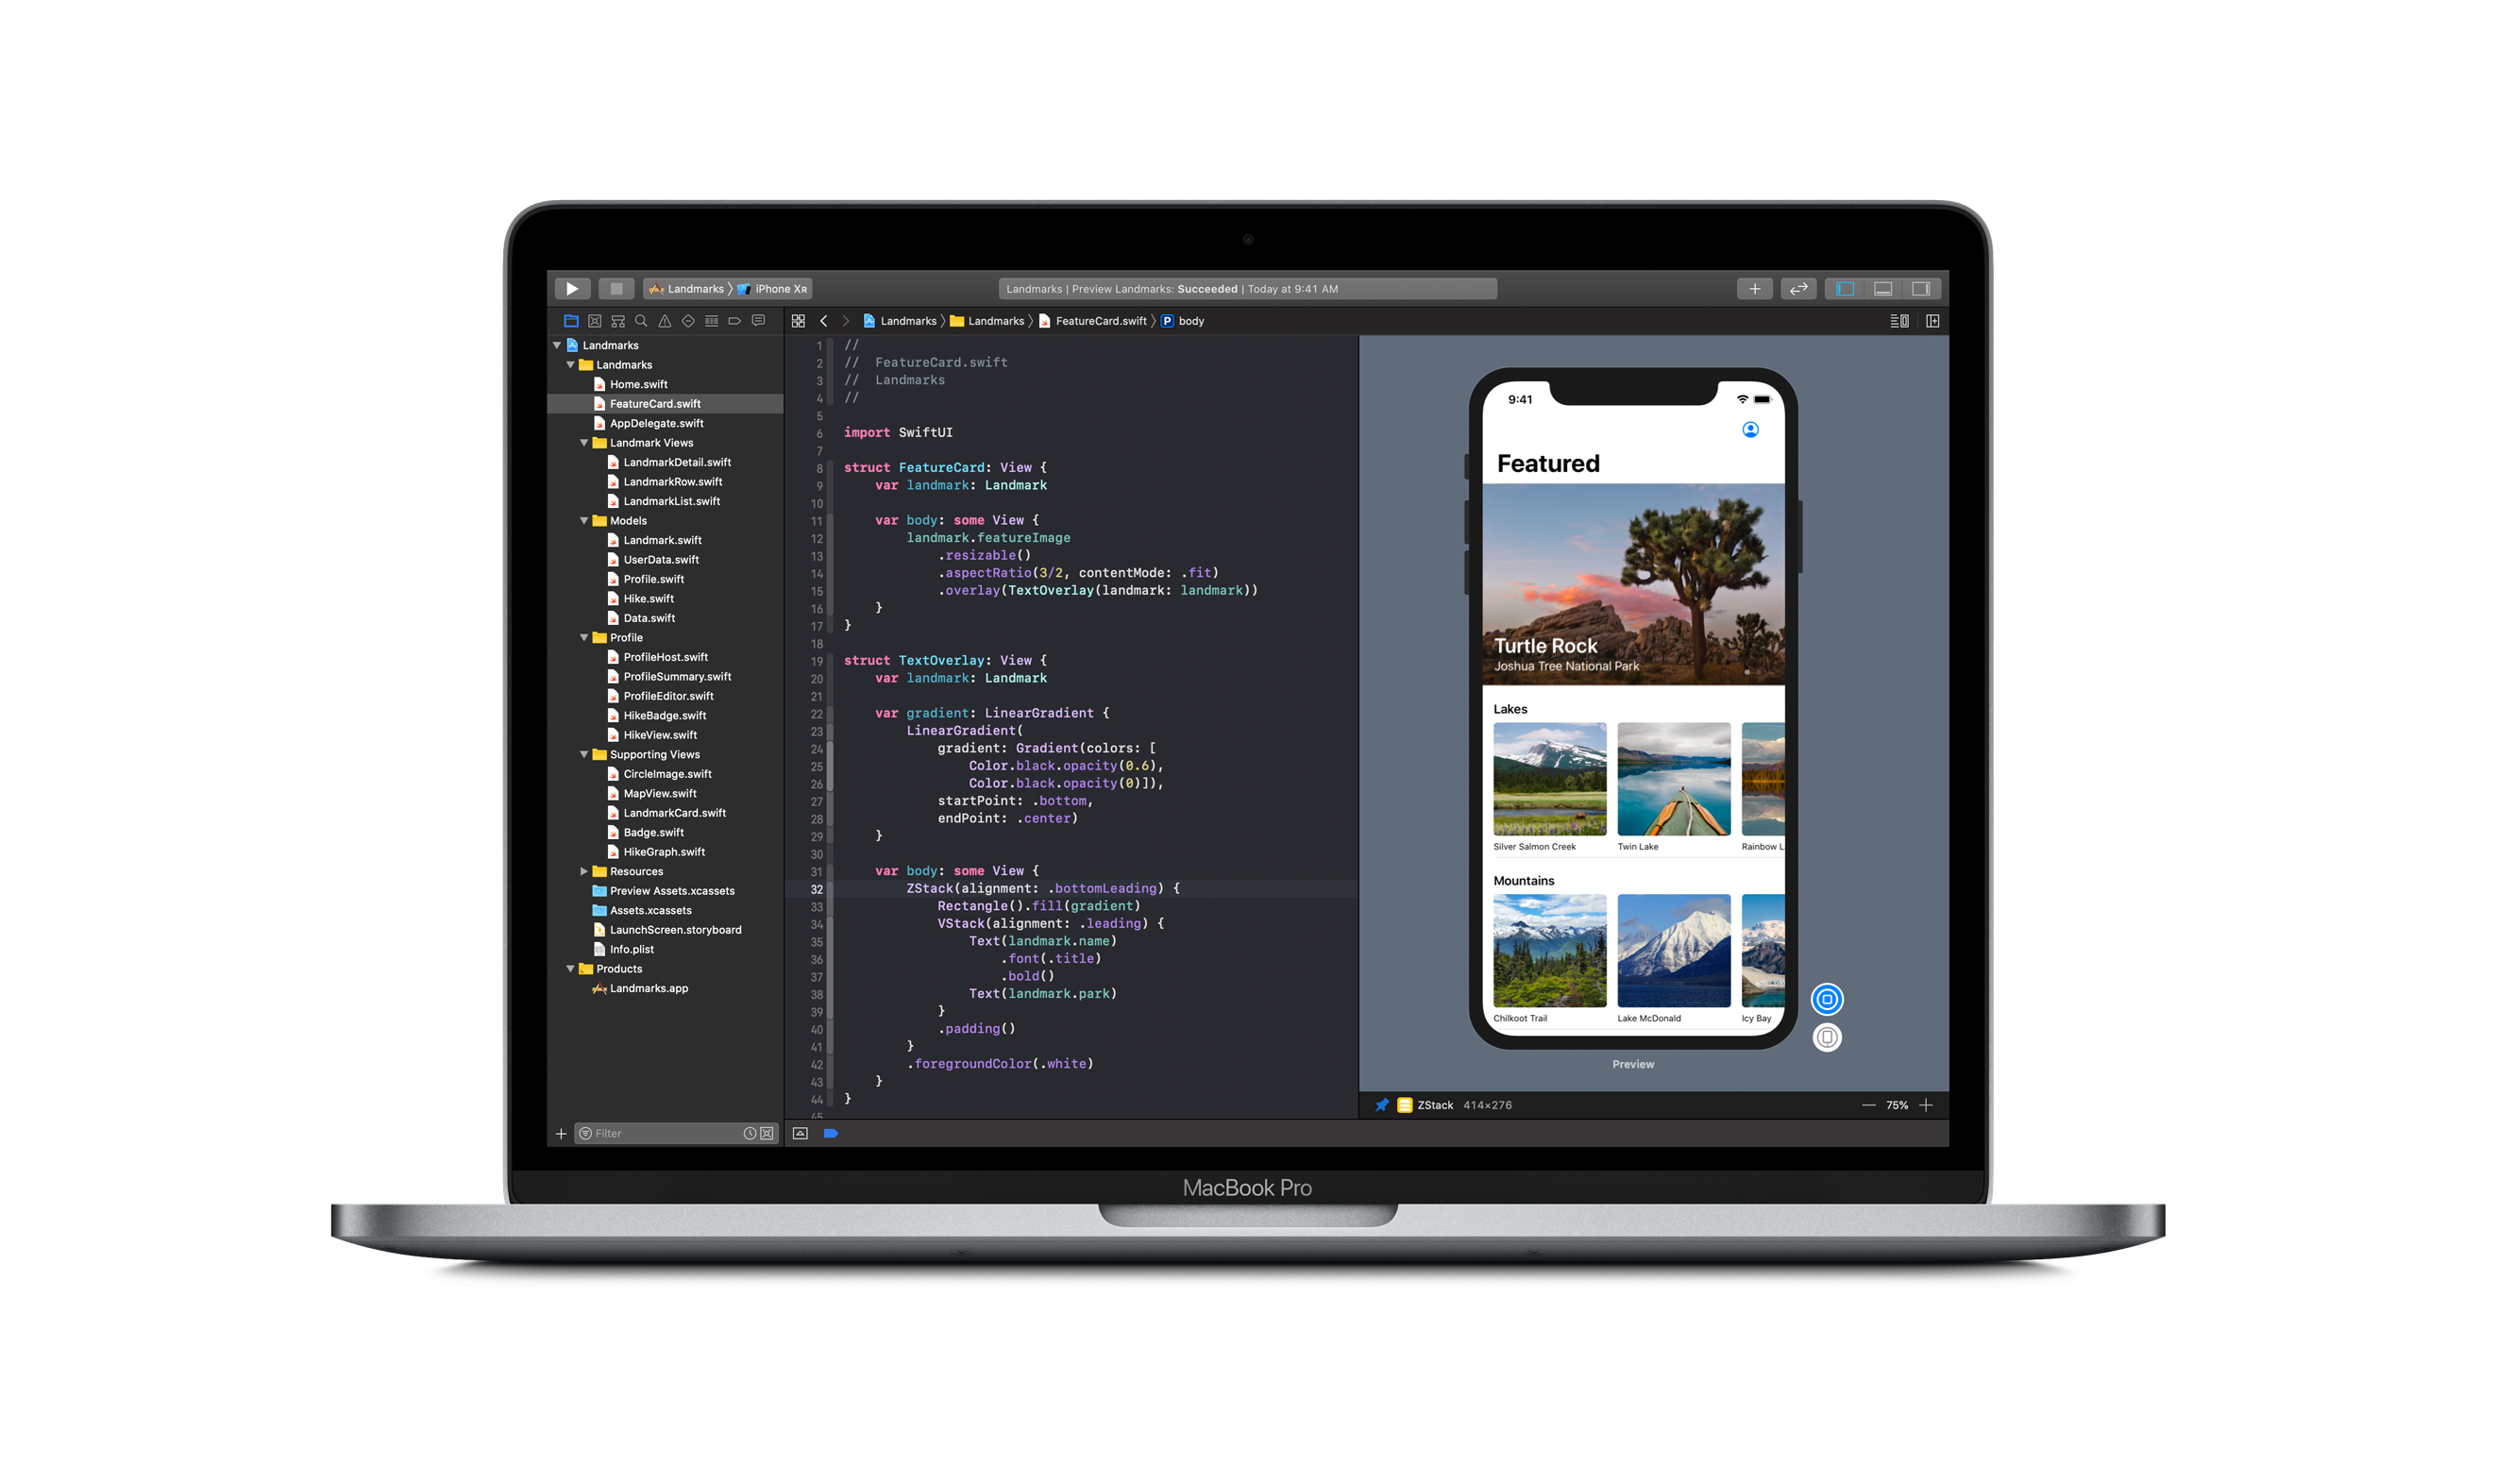
In an ongoing attempt to learn SwiftUI I am running through Apple’s official tutorials and the following are the notes I took along the way. The tutorial can be found here.
By default, stacks center their contents along their axis.
When previews are in static mode, they only fully render SwiftUI views. Because a MapView() is a UIView subclass, you’ll need to switch to a live preview to see the map. You can continue editing the view while showing a Live Preview.
When adding a MapView() to a view, when you specify only the height parameter, the view automatically sizes to the width of its content.
In the below example, landmark is referred to as a stored property of LandmarkRow.
struct LandmarkRow: View {
    var landmark: Landmark
    var body: some View {
        Text("Hello World")
    }
}
Use previewLayout to crop the preview window to a certain size. Example is below. (This is the default code that comes with creating a new SwiftUI View, but just modified to add previewLayout)
struct LandmarkRow_Previews: PreviewProvider {
    static var previews: some View {
            LandmarkRow()
            .previewLayout(.fixed(width: 300, height: 70))
    }
}
List() works with identifiable data. You can make your data identifiable in one of two ways: by passing along with your data a key path to a property that uniquely identifies each element, or by making your data type conform to the Identifiable protocol.
An observable object is a custom object for your data that can be bound to a view from storage in SwiftUI’s environment. SwiftUI watches for any changes to observable objects that could affect a view, and displays the correct version of the view after a change.
SwiftUI animations are interruptible. So if you animate a button to rotate 360 degrees over 4 seconds with an easing of easeInOut on click, then click that button, and then click it only after 2 seconds, the button will stop rotating with the same easing property.
When porting an existing app over to the Apple Watch, different bits of code have different targets. The {WatchApp} Extension target holds your app’s code, while the {WatchApp} target manages your storyboard, icons, and related assets.
In 2020, SwiftUI added the ability to concatenate Text views. Example below:
struct ContentView: View {
    var body: some View {
        Text("Hello ") + Text("world!")
    }
}
In some situations it may make sense to add depth to your layout by using the overlay(_:alignment:) and background(_:alignment:) view modifiers instead of a ZStack. The background view modifier places another view behind the view you’re modifying, and overlay places a view on top of it.
To create a squircle shape use a combo of cornerRadius and cornerCurve. An example is shown below.
func setupImageLayer() {
   mealImageView.layer.cornerRadius = 22.0
   mealImageView.layer.cornerCurve = .continuous
}
Views define a piece of your UI. They’re the building blocks of your app, and each view should be small and focused. You build a complex view by composing it of small, simple views.
Use the shortcut Cmd + Shift + L to open the Xcode elements library.
In regards to accessibility: consider if there’s enough context in the labels and values for users to understand the purpose of the element. In this case, rather than force VoiceOver users to listen to the output of both labels, you can supplement the data with one label that surfaces the most important information.
When dealing with LazyVGrid and LazyHGrid, the word Lazy, as mentioned by Apple, refers that the grid view does not create items until they are needed. What this means to you is that the performance of these grid views are already optimized by default.
@joekotlan on X
